JMRI: DecoderPro User Guide
Rosters
Reading the contents of a decoder generally takes a long time, and with some command
stations it's not even possible. The JMRI Roster stores the known values of decoder
configuration values to make it unnecessary to read them from the decoder. It can contain
"Roster entries" for an unlimited number of individual locomotives. Stationary
decoders which are configurable using a decoder definition xml file can be added too.
Each Roster entry has an "identifier" (Roster ID/ID column) by which it's known. This is your name
for it. When the program wants you to select a Roster entry, it will ask you to pick from a
selection box or menu containing Roster entry IDs. You can use anything you want for this as long it is unique
in the roster: Road number, type, even "That crummy old model I need to repaint" or "My beautiful
Shay".
Roster Entry
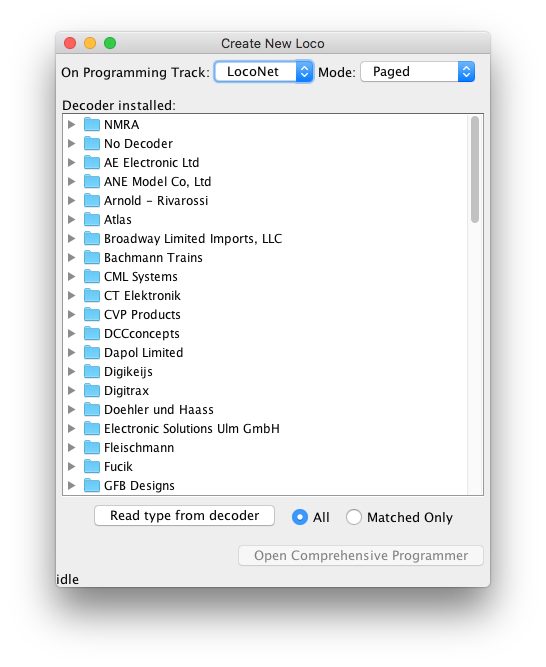
When you first open a JMRI programmer, you'll see a "Create New Loco" pane.
Select a decoder from the tree, or click [Read type from decoder]
(only works on the programming track/Service Mode). The pane will expand:
The Create Basic Roster Entry area appearing on the right allows you to
edit the following items:
- Roster ID
-
Your name for the new roster item, see above. You can change an entry's ID later, in
which case it will appear in new selection boxes, etc. with the new ID name.
- Active DCC Address
- This is either a Short or Long Address, based on how the decoder is configured.
- Buttons
- [Read] the information from a decoder with this address
[Write] changes to that decoder or
[Save] this new entry to disk without contacting the decoder at this
point, to work on it later.
Click the [Open Comprehensive Programmer] button at lower right to continue.
Note that the program may warn this is not possible for some set-ups. In that case, click
Save and close the pane. Your new item will appear as a line in the Roster table.
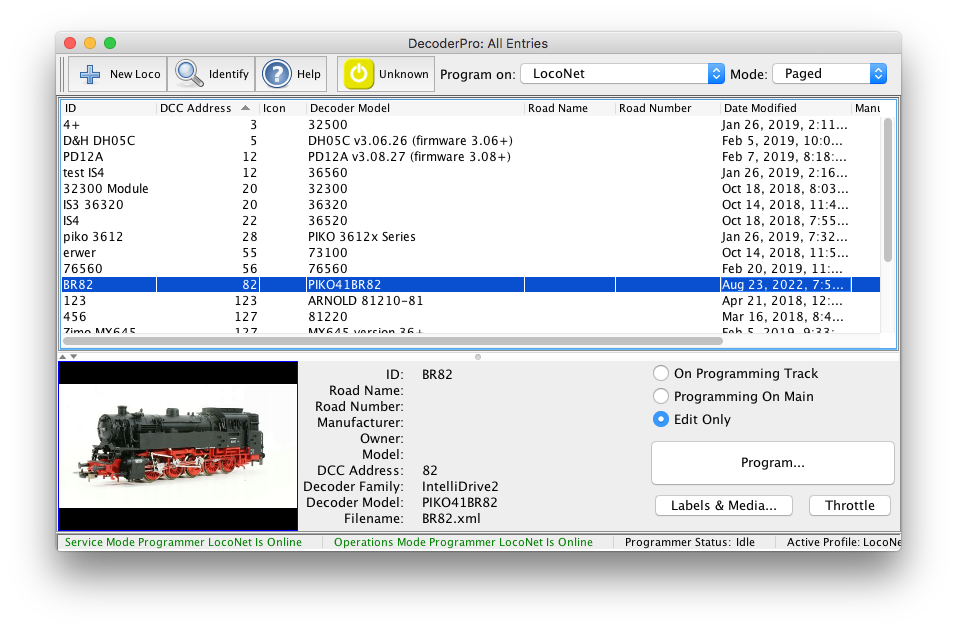
In case DecoderPro can open the Comprehensive Programmer, you will see a row of tabbed panes
with additional properties, many of which can be edited in place:

- Roster Entry pane
-
The "Front Page" of a loco and its decoder:
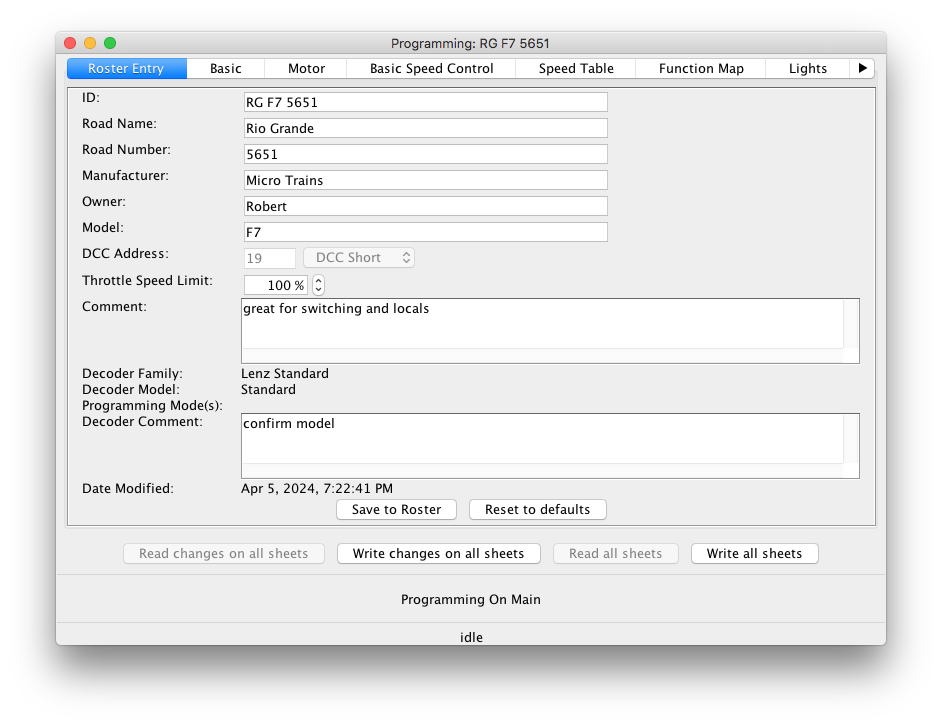
- ID
Fix here if you made a typo while creating the entry.
- Road Name
- Road Number
- Manufacturer
- Owner
- Model
Either the prototype model or the scale model product number, useful sorting your roster
- DCC Address
display only, editable on the Basic tab
- Throttle Speed Limit
- Locomotive Datasince 5.15.4
- Comment
Use this field for whatever you want.
- Decoder Family
- Decoder Model
- since 5.11.5Programming Mode(s)
These three fields are filled in based on the decoder that was selected when the entry
was created. They can't be edited later.
- Decoder Comment
You can put anything you want here. Some people have used it to record whether an NMRA
plug was used, whether the decoder was soldered in, etc.
- Basic pane
-
Shows additional information about your Locomotive: Active DCC address, normal front
driving direction etc.
- Motor pane
-
Adjust Acceleration, Deceleration etc.
- Basic Speed Control and Speed Table panes
-
Simply set a start voltage or detailed Speed Steps to tune driving character of the loco.
- More panes...
-
The information on some tabs depends on the decoder that was selected in step 1.
Depending on your Preferences > Roster > Programmer settings, empty tabs may be hidden.
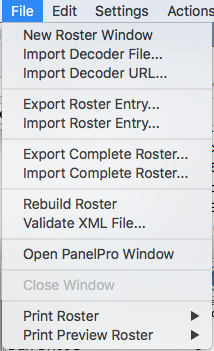
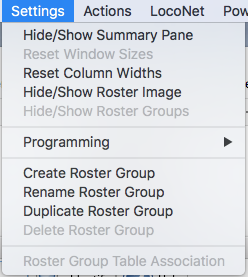
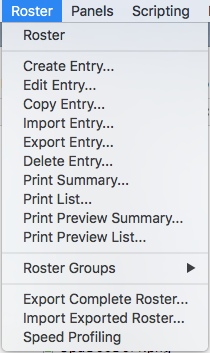
In addition to the buttons around the Roster table, the JMRI application main windows and
the DecoderPro windows have 3 menus that allow working with the application: File, Settings and
Roster. The latter is also available in PanelPro, and allows you to open the Roster by picking
the first item, appropriately named "Roster". Let's look at the Roster menu items:
- Create Entry...
- Used to create a new Roster entry, even if you don't currently have a
connection to a layout. When you select this, you're given a window in which to select a
decoder type. Pick the correct decoder type, the format you want, and click "Open". You'll
see a DecoderPro-style window for changing the contents of the new entry. Don't forget to
click "Save to Roster" when you're done! The "New Loco" button is an alternative.
- Edit Entry...
- Used to update the contents of a Roster entry, even when you don't have a
layout connection (normally, if you do have a layout connection, you'll use the DecoderPro
programming functions). First select an entry in the Roster table. You'll get a
DecoderPro-style window for viewing and changing the contents of the entry. Don't forget to
click "Save to Roster" when you're done! The "Program..." button works as an alternative.
- Copy Entry...
- Used to create another Roster entry identical to the original except for its ID.
If you have a standard setup you'd like to use for new locomotives, you can
create a Roster entry with all the right values filled in, and then copy it every time you
want to program a new locomotive. A right click on a roster entry is an alternative.
- Import Entry...
-
The combination of "Export" then "Import" allows you to bring a locomotives Roster entry
when you move to another layout, with its own DecoderPro installation.
When you select "Import Entry...", you'll be asked to locate an XML file to import. It
should have been created by an "Export Entry..." command. You'll also be asked for the ID
of the new Roster entry to be created. This can be the same as it was before it was exported,
or you can give it a new ID.
- Export Entry...
-
Although it is possible to find the XML files defining Roster entries in the preferences
directory, it's better not to mess with them directly. The "Export" command will create a
new file representing a Roster entry, including all comments, CV values, etc. You
can then take that to another copy of DecoderPro and import it into that Roster. Export
does not change your current Roster in any way, it just makes a copy for you of a
specific entry.
When you select "Export Entry...", you'll be prompted to select a new filename. You can call it
anything you want, but it's best to put a ".xml" extension on the name.
- Delete Entry...
-
This completely removes a Roster entry. You're asked once if you're sure and a backup is
made, in case of mistakes. A right click on a roster entry to see an alternative method.
- Print Summary...
-
Prints a summary of the entire Roster, showing the primary information for each
entry as a separate text block.
For a more detailed listing of a specific decoder, see the "File" menu on the
programmer screens.
- Print List...
-
Prints a summary of the entire Roster, presenting the primary information for each
entry in a very compact, paper saving table format.
- Print Preview Summary...
-
Shows the contents of the summary on your screen, so you can preview it before printing.
- Print Preview List...
-
Shows the contents of the list on your screen, so you can preview it before printing.
- Roster Groups
-
A more advanced feature to categorize and
group Roster Entries into sets,
so that you can work on a subset.
since 5.15.4Locomotive Data
The Locomotive Data pane is used to maintain non-decoder information that
is related to the current roster entry. This tab will only be shown when the
Locomotive Data checkbox is enabled.
The initial set of locomotive data consists of a set of physical characteristics that affect
locomotive acceleration and deceleration. The first application that makes use of this data
is Dispatcher.
Locomotive Physics Data
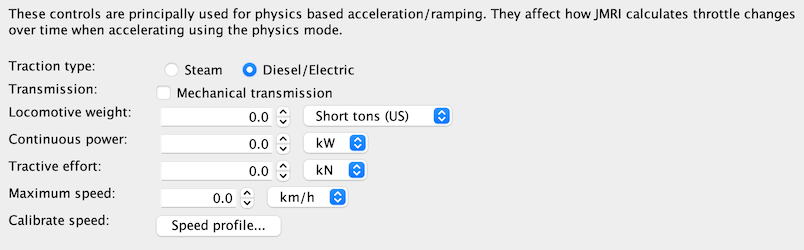
- Traction type
-
Whether the locomotive/railcar/unit is powered by steam; or diesel or electric.
This affects physics performance as steam locomotives behave differently (being constant
force machines).
- Transmission
-
If Mechanical transmission is selected, the vehicle will pause its
acceleration at certain points for the driver to change gears.
- Locomotive weight
-
Enter a value and select the unit of measure: Metric tonnes (t) |
Long tons (UK) | Short tons (US).
- Continuous power
-
Enter a value and select the unit of measure: kW | HP.
- Tractive effort
-
This is the starting tractive effort. Enter a value and select the unit of measure:
kN | lbf.
- Maximum speed
-
Enter a value and select the unit of measure: km/h | MPH.
- Calibrate speed
-
The physic values are only used when a
Speed Profile
is also being used. The Speed profile… button provides a shortcut
to the speed profiling tool.
Use the Save to Roster button to save the changes to the values.
The Roster custom attributes feature is used to store the
unit of measure
selections. Custom attributes automatically add a column to the roster table. Right click on
the table header row to show/hide columns. Note: Custom
attributes are accessed using the Labels & Media… button. Then
select the Roster Media tab.