- Installing JMRI
- Getting Started
- Using DecoderPro3®
- DecoderPro® Programming Modes
- The Basic Programmer
- The Comprehensive Programmer
- Advanced Features
- DecoderPro3® Main Window
- Error Messages
Getting Started with DecoderPro3®
How do I set up my preferences?
From the Edit menu in DecoderPro3® select Preferences option:
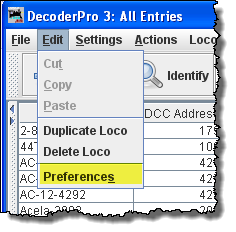
(This window may open automatically the first time you run the program.)
As a first time user the most important information is the Connections screen where you describe how the computer will talk to the command station. Most of rest you can leave at the initial or “default” settings until you find a need to change things to suit your fancy.
Most importantly, you must click to finalize your settings and then re-start the program to have them take effect.
The Preferences window provides access to the basic configuration information to connect your computer to your DCC system. You will be using that system to actually program and operate trains equipped with DCC decoders. An important concept to keep in mind is that JMRI is nothing more than a very smart throttle. If you can do something with your throttle you can probably do it faster and easier with JMRI. However, if your system can’t do what you want, either because your system is not connected properly (it’s broken) or the system manufacturer did not incorporate that capability, then JMRI will not be able to do it either. In the latter case JMRI will probably give you an error message or have the command “greyed out” to help you identify why it can’t accomplish your request.
The window is split into two panes, on the left side is a list of preference groups that may be set. Clicking on one of the items opens the options that may be set in the right side pane. No selection have been made
| Connections | Allows you to select the system connection that you are using for controlling DCC and the connection to your computer. This is the only required preferences to define your DCC system. The rest of the features are used to customize your specific system. |
| Defaults | Shows system default settings |
| File Locations | Set default location for saving User files and Script Files |
| Start Up | Allows you to set Actions, Buttons, Files and Scripts that run at Start Up |
| Display | Allows you to select your computer display mode |
| Messages | Set default actions for system message when displayed |
| Roster | Allows you to set your default Programmer and roster location |
| Throttle | Allows you to set up you Throttle preferences |
| Wi Throttle | Allows you to set up a Wi Throttle settings |
| JSON Server | The JMRI Json Servlet provides web access to lists and values for numerous JMRI-defined entities, in the modern JSON format. |
| Web Server | Sets up the DecoderPro® miniServer |
Now we will set up preferences for the JMRI environment with your command station.
| I am using a Digitrax Super Chief Command Station (radio) interfaced to the computer via loconet, PR3 (MS100 mode) and USB port. I keep master roster on the System Drive.; |
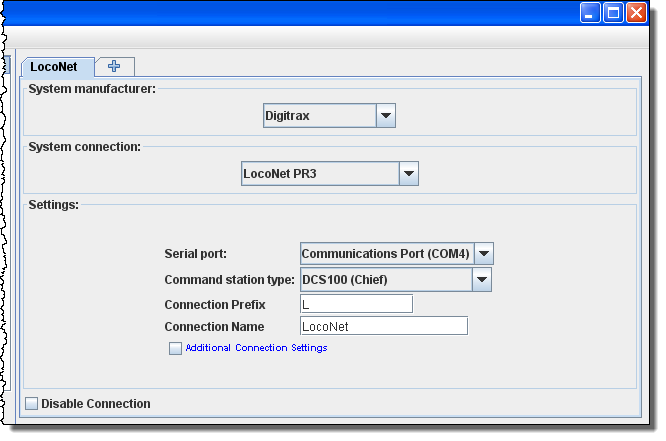
Connections Pane (TABS are configured to the system your selected)
Now select Connections and connection options display in right pane. After saved and restarted, the TAB will read LocoNet. This the set up for Digitrax Chief system with PR3 interface.
| System manufacturer: | Drop-down list with all the supported DCC manufacturers, select the manufacturer of your system. | |
| System connection: | Drop-down list with all of the supported DCC system interfaces supportted by the manufacturer that you selected, select the interface that you are using. | |
| Settings: | Serial Port: | Drop-down list to select the serial port to which your DCC interface is connected. If you do not know, check your system hardware configuration manual. A second drop-down list may include a selection if there are more than one possibility. possibilityDrop-down list to select the serial port to which your DCC interface is connected. If you do not know, check your system hardware configuration manual. A second drop-down list may include a selection if there are more than one possibility |
| Command station type: | Drop-down list to select the command station type that JMRI will be using to send your DCC commands. | |
| Connection prefix | Include the prefix for your connection, in the case shown the "L" is default | |
| Connection name | Should default to the connection used | |
Additional Connection Settings, if checked:
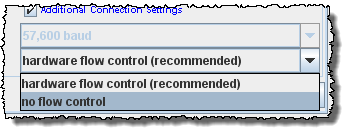
will disable all the connection settings.
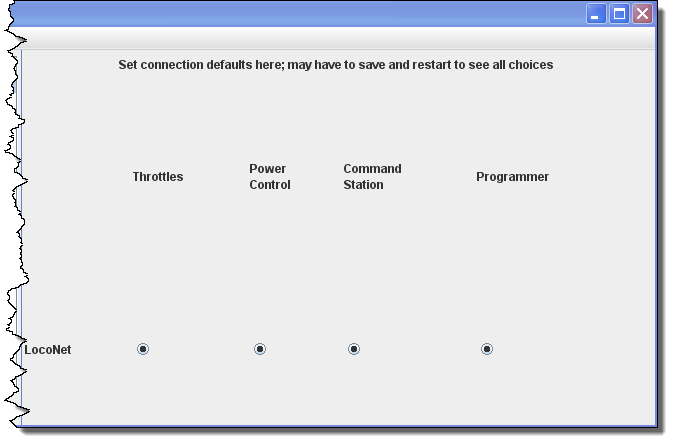
Defaults Pane
Shows the default settings which will depend upon the system used.
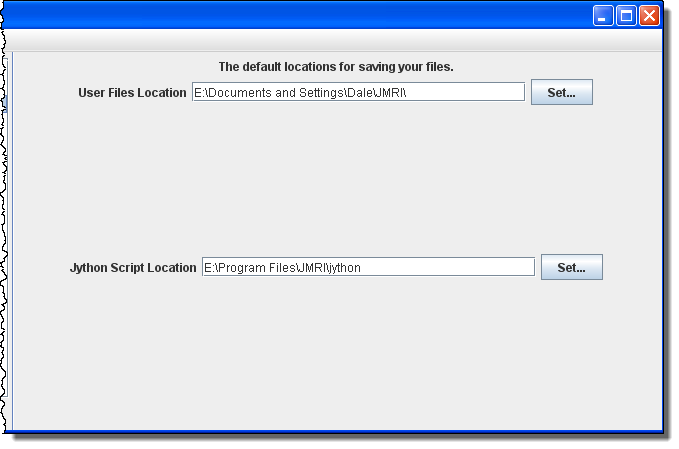
File locations Pane
| User File Locations | Select the location for your user files on your system |
| Jython Script Location | Set the location of Jython Script files |
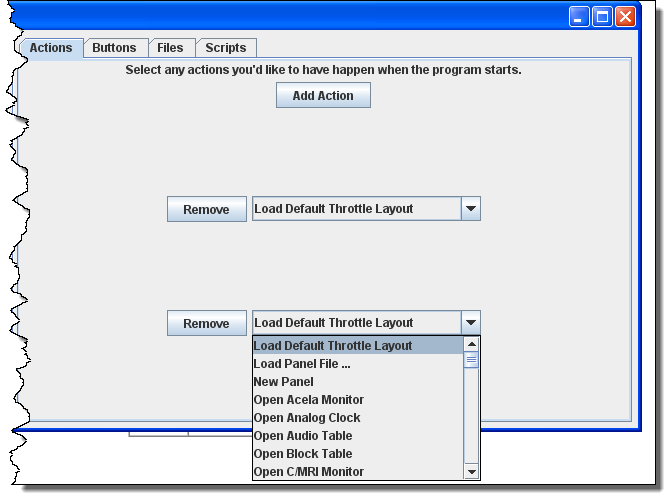
Start Up Pane
| Actions TAB | to set up a Startup action | 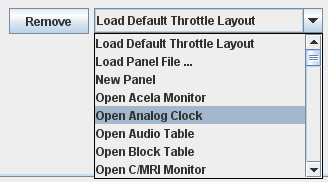 |
| Buttons TAB | to the toolbar of DecoderPro3 |
|
| Files TAB | that you want to load at startup | 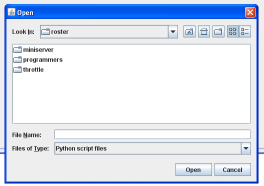 |
| Scripts TAB | to load at startup | 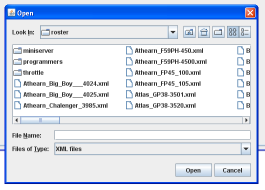 |
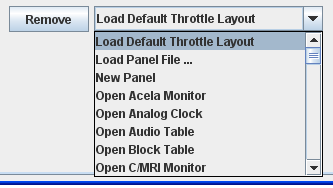
You may add as many items as you want to open on start up. Example of Actions
removes the item from the Start Up sequence. All of the panes are of the same format.
Display Panes
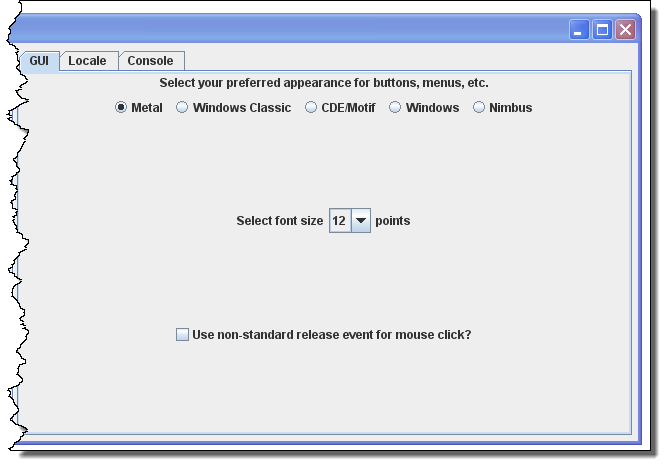
GUI TAB
| Select your preferred appearane for buttons, menus, etc. | Metal |
| Windows Classic | |
| CDEMotif | |
| Windows | |
| Nimbus | |
| Select font size in points | |
| Use non-standard release event for mouse click? | |
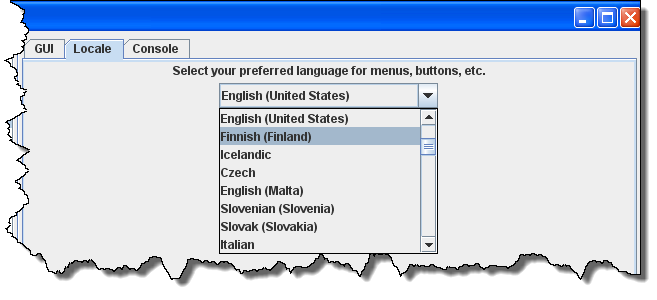
Locale TAB
Drop-down list to select your location and language
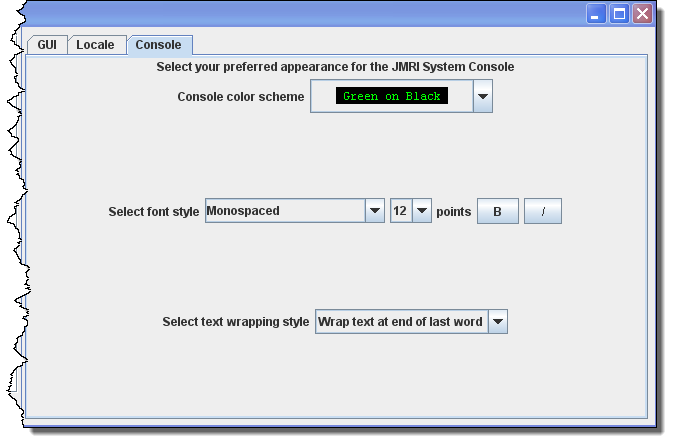
Console TAB
Display settings for the JMRI system console.
Messages Panes
TABS and selections can be used to set how and when messages are displayed.
Roster Panes
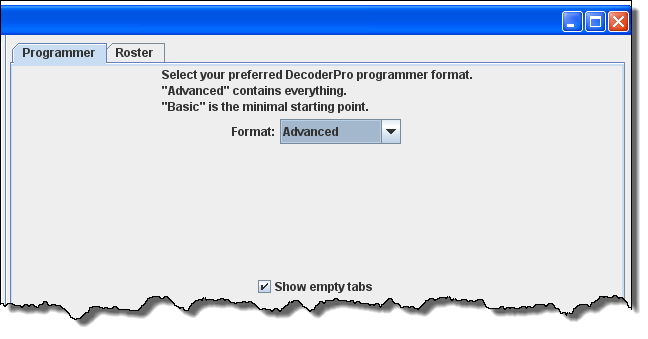
Programmer TAB
Used to set the preferred decoder programmer.
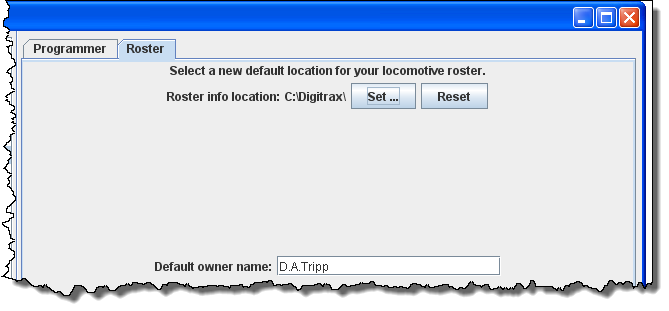
Roster TAB
You may set the default location of the locomotive roster and the default owners name.
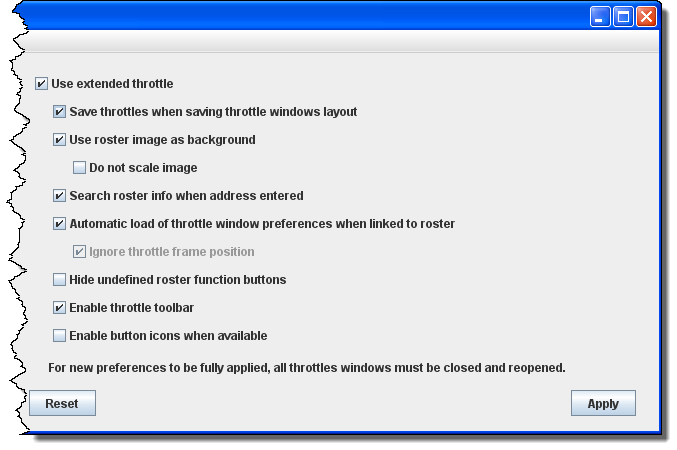
Throttle Pane
Select throttle startup conditions, shown are defaults, but you may change the settings.
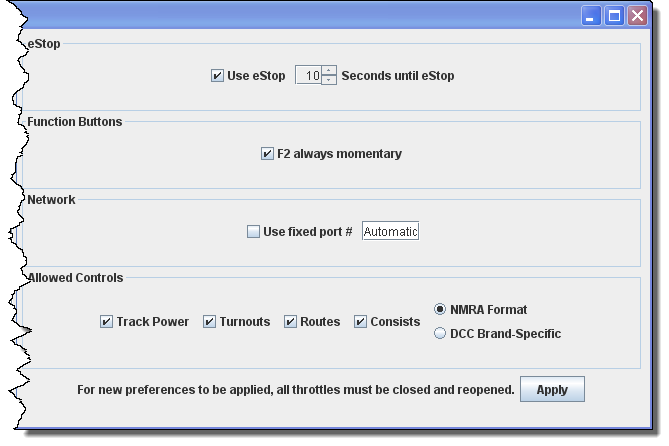
WiThrottle Pane
This pane allows WiThottle users to customize the setup.
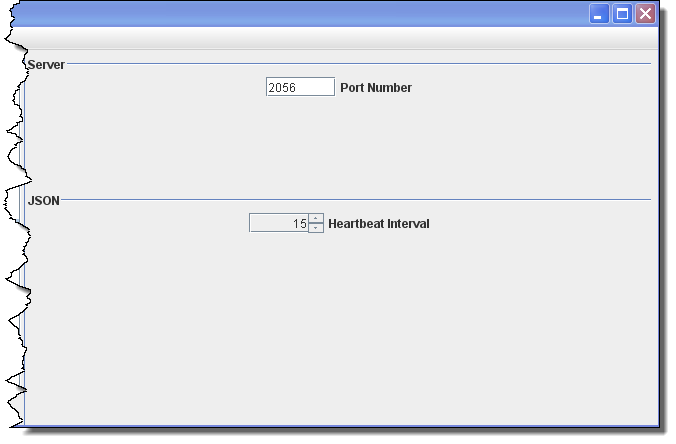
JSON Server Pane
The JMRI Json Servlet provides web access to lists and values for numerous JMRI-defined entities, in the modern JSON format.
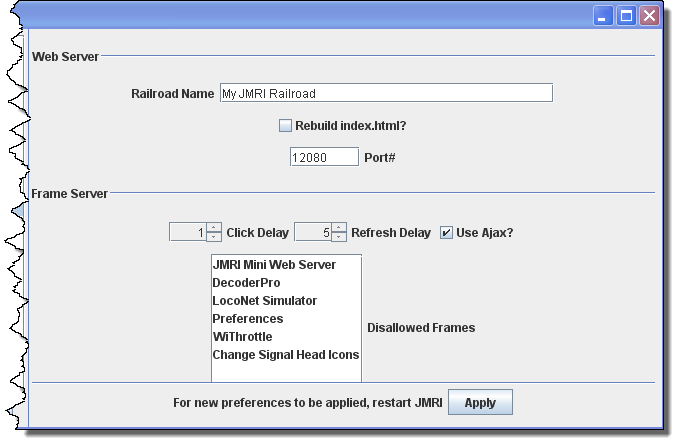
Web Server Pane
Use this pane to setup MinServer if you are using it.
Ajax is now in use for smoother image refresh and clicking. For older browser you may want to unselect Ajax.
Before you exit the preferences, Click on button to save all your selections.
You must restart DecoderPro for preferences to take effect

