OpenLCB: Browse Configuration
The "Configure Nodes" OpenLCB tool lets you directly see the nodes on your OpenLCB network
and do some back manipulations on them. It works with your OpenLCB installation to gather the
information you need as you run the tool; there are no local configuration files in your
computer.
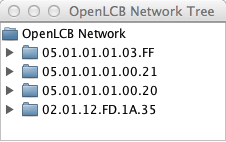
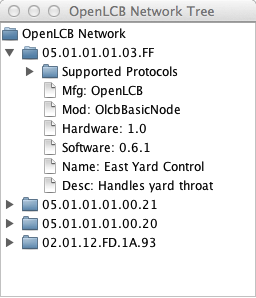
| When you first open the tool window, it shows a tree of accessible OpenLCB nodes. For
most installations, this is just the list of what's attached via a CAN adapter. |
|
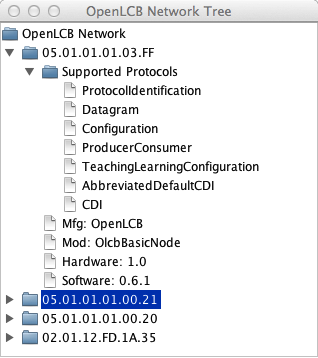
| You can click to open each node and see more about it. |

|
| Opening the "Supported Protocols" item, for example, will show you the capabilities
of that particular node. |
|
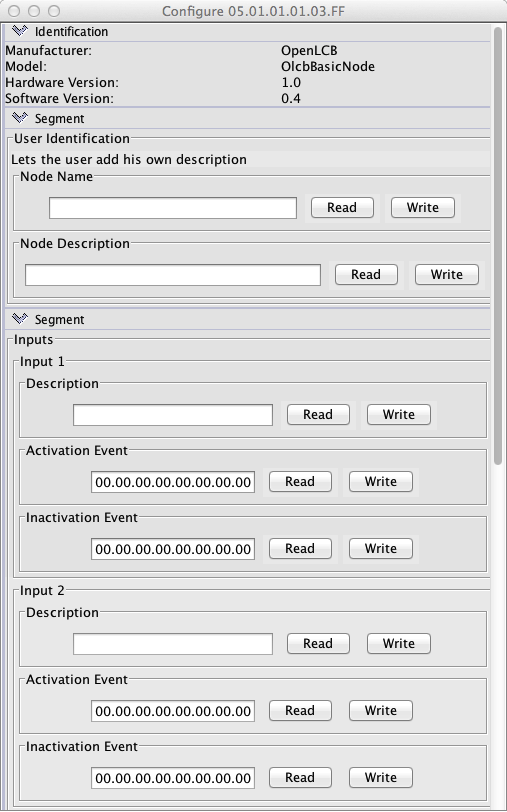
| If you click on the "CDI" item, for Configuration Description Information, you'll get
a DecoderPro-like configuration tool for the node.
Note that this is entirely taken from
the OpenLCB node itself. There's no need to find a decoder configuration file, select the
right board type, etc.
The top section is identification information from the selected node
that shows the manufacturer, model and version information.
Below that is user-configurable information.
|
|
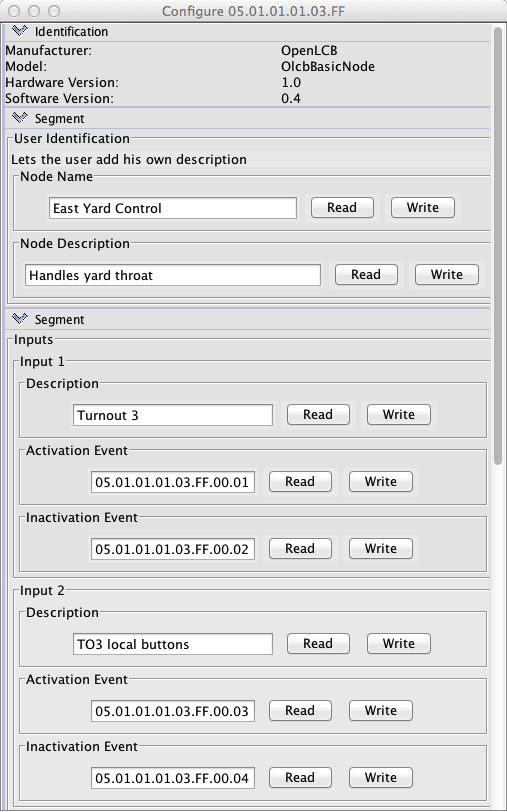
| You can fill those fields out and click "Write" to configure the node.
The top few fields are
used to give it a user-chosen name and description, so you can remember this node later.
You can set the events that correspond to different inputs and outputs, and even give
those user-convenient names. That's all stored permanently in the node.
At the bottom are some additional buttons:
- Refresh All - reads all the values from the node, over-writing
any changes you may have made
- Save Changes - writes any changed values to the node. This is
equivalent to pressing the "Write" buttons that are next to the changed fields.
If there are no changes, this button is disabled.
- Backup... - stores the node's configuration information to a file
on your computer
- Restore... - reloads the configuration from a previously-created
backup file. Note that this just changes the values in the window;
you have to click "Save Changes" to store them to the node.
- More.. - additional options specific to the capabilities of the node.
As you change values, you'll notice the background on some type of items and tabs
change from white to orange. Orange indicates that you've changed a
value and should write it to the node so it's not lost. If you enter
an invalid value, such as an integer value that's too large or too
small for that particular item, the background will turn to blue.
You can see the valid range for each integer value by hovering your
mouse cursor over it. A tooltip will pop up showing the
correct range of values. You can also press the Refresh button to
reload the current value from the node.
Some replicated sections will appear as tabs. You can copy
and paste all the values in a section between tabs using the usual ctrl-C/cmd-C and
ctrl-V/cmd-V keys on your keyboard. You can then click "Write" or "Save Changes"
to set those values in the node.
|
|
| After a restart, that information then shows in configuration tree to help you
recognize your nodes. |
|


