LogixNG Reference - Chapter 3
Working with sockets
The ConditionalNG tree structure is constructed using sockets. These are used to build the branch and leaf nodes of the tree. Chapter 1 showed how the nodes were created and linked together.
The sockets for a particular node depend on the node definition. The If Then Else node has 3 sockets. The And and More nodes have an unlimited number of sockets.
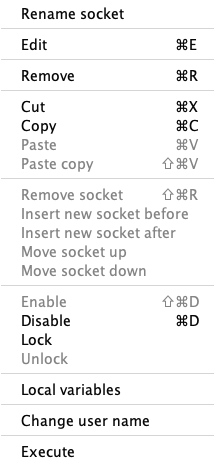
The right click context menu, introduced in chapter 1, is used to manage sockets.
Rename socket
Each row in the tree starts with the socket type and the socket name. See the list at socket types.
The names usually reflect their purpose, such as If for the beginning of an If Then Else group, or A for action or E for expression. Some sockets can occur several times, such a A1, A2 for a series of actions within the Many socket.
When Rename socket is selected, the rename dialog will open. Enter the new name and click OK.
Add / Edit / Remove
When an empty socket is selected, the Add menu item will be active. If the socket is not empty, Edit and Remove will be active.
Add is covered in chapter 1. Edit brings up the dialog that was used to create the row.
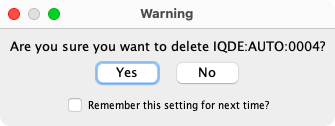
Remove deletes the row and all of its children after the delete is confirmed. This is different than the Cut menu item which uses the LogixNG clipboard.
Cut / Copy / Paste / Paste copy
These are covered in chapter 2 - The clipboard.
Remove socket / Insert socket / Move socket
When using a multiple socket list like And or Many, the next socket is added each time an expression or action has been added. When the list is complete, the empty socket at the end can be left or removed using Remove socket.
Insert is used to add a new socket at the selected point in the list.
Move is used to move a socket up or down.
Why?
The primary purpose is to re-order the items in a sequence that makes sense.
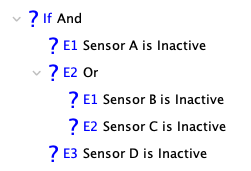
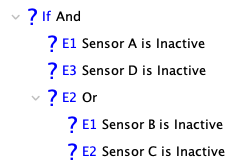
An example is to simplify compound logic. Instead of A and (B or C) and D, change the order to be A and D and (B or C).
An alternative to compound structures is the formula feature which is covered in Chapter 9 - Formula.
Enable / Disable
When an expression is disabled, it will not participate in the true/false evaluation. For actions, the action will not be executed. When a branch is disabled, the children are effectively disabled. The text for the row is displayed using a strikethrough format.
Lock / Unlock
Locking a row in the ConditionalNG tree is used to prevent accidental changes to the selected portion of the tree. When a row is locked, the row and all of its descendants are locked. The unlock menu item unlocks the row and its descendants
If an item is locked, a lock icon is shown before that node.
An item can be edited, enabled and disabled if it's not locked.
An item can be added if the parent is not locked. An item can be cut or removed if it's not locked and its parent is not locked.
Local variables
Local variables are discussed in Chapter 8 - Local Variables.
Change user name
When Change user name is enabled, a name can be assigned to the row. The user name is used by Chapter 6 - Last result of digital expression.
Evaluate
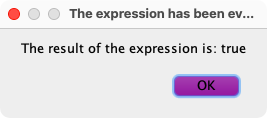
Depending on the row type, it is possible to manually evaluate an expression. This is useful debugging tool.
A dialog will show the results.
Execute
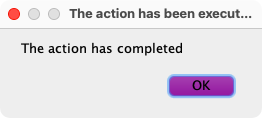
Depending on the row type, it is possible to manually perform an action. This is useful debugging tool.
A dialog will show the results.
Chapter 4 - Actions and Expressions
Thanks and congratulations to all who contributed! Contact us via the JMRI users Groups.io group.
Copyright © 1997 - 2024 JMRI Community. JMRI®, DecoderPro®, PanelPro™, DispatcherPro™, OperationsPro™, SignalPro™, SoundPro™, LccPro™, TrainPro™, Logix™, LogixNG™ and associated logos are our trademarks. Additional information on copyright, trademarks and licenses is linked here.
View the
